When you are faced with incompatible formats, try converting the files.
By Ivan Janic
Passionate about all elements related to Windows and combined with his innate curiosity, Ivan delved into understanding this operating system, specializing in device drivers and… read more
Updated in
Vlad Torricano
Passionate about technology, Windows and anything with a start button, he spent most of his time developing new skills and learning more about the world of technology. Coming… read more
- XPS (XML Paper Specification) files are Microsoft’s competition to Adobe’s PDF files.
- If you happen to come across this not-so-popular format, convert it to a more user-friendly, fully editable PDF.
- Use one of the dedicated tools in the Adobe Suite to fix this problem in no time.
- Read our guide below to find the best solutions Open XPS files in Windows 10.

XPS (XML Paper Specification) files are Microsoft’s competition to Adobe’s PDF files. Maybe this format is not as popular as PDF, but it can be useful to know something about XPS and the way they work.
Because the XPS format preserves the layout of electronic documents down to the smallest detail, whether it’s for printing, editing, or simple viewing, using the right tool is essential.
While Adobe allows you to tweak your PDF documents independently from its software, things are a little different when it comes to XPS document management software.
How do I open XPS files in Windows 10?
In this article, we are going to show you how to handle XPS files in Windows 10 using 2 different methods. The first of course includes Adobe.
Although the program does not support opening XPS files, it offers a nice feature that allows you to convert your first one to a more digestible format very easily.
1. How to convert XPS to PDF with Adobe Acrobat DC Pro
XPS files are one of the many formats supported for direct file conversion in Adobe Acrobat DC Pro. Just use this path to convert XPS documents to fully editable PDF files: File > Create PDF > From File.
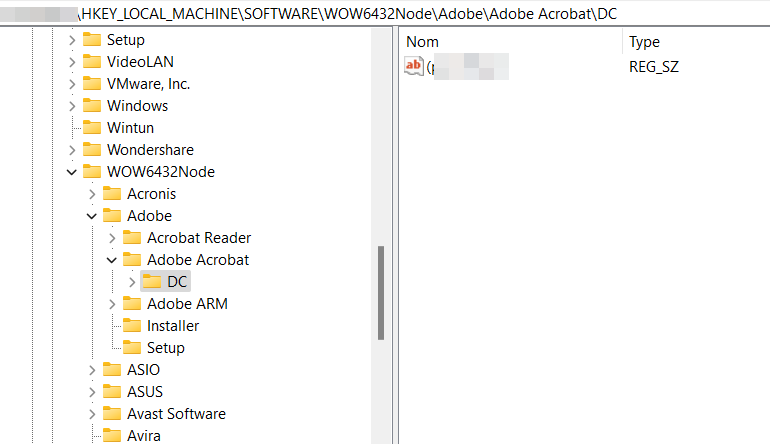
Even if the option is disabled by default, you can still create a registry key on your Windows 10 PC that will allow you to convert XPS files to PDF files.
- Just open the registry editor.
- Be sure to right-click on it and select Run as administrator.
- Then type the following command:
HKEY_LOCAL_MACHINESOFTWAREWow6432NodeAdobeAdobe AcrobatDCFeatureState
- Finally, close the registry editor and you’re all set.
2. How to open an XPS file using XPS Viewer
XPS Viewer used to be Microsoft’s default application for opening and managing XPS files, and it offered some basic functions like reading XPS files, zooming, printing, searching, etc.
You can still use it today to open XPS files, but you have to download and install it manually.
1. Tap on Windows key and type Definitions. Click on the result.
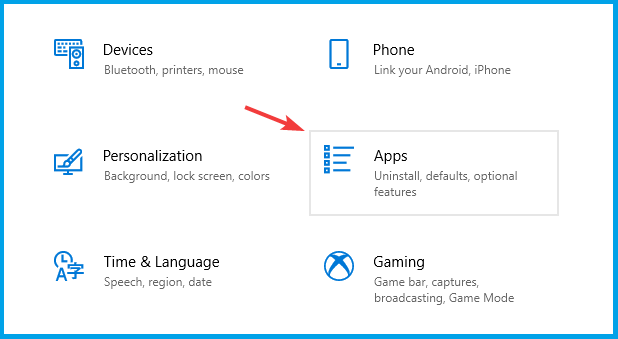
2. Choose applications of the options.

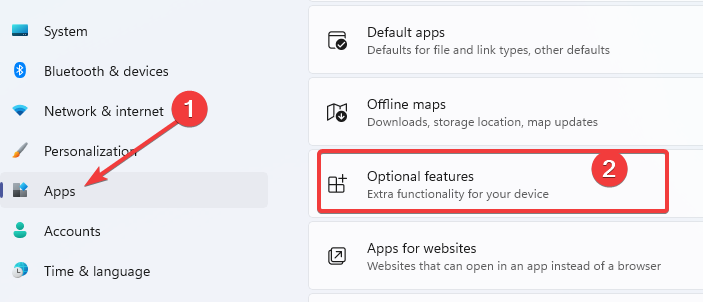
3. cLick Optional featureS.

4. Choose Add a feature.
5. Choose XPS Viewer from the list You can use the search box to find it.

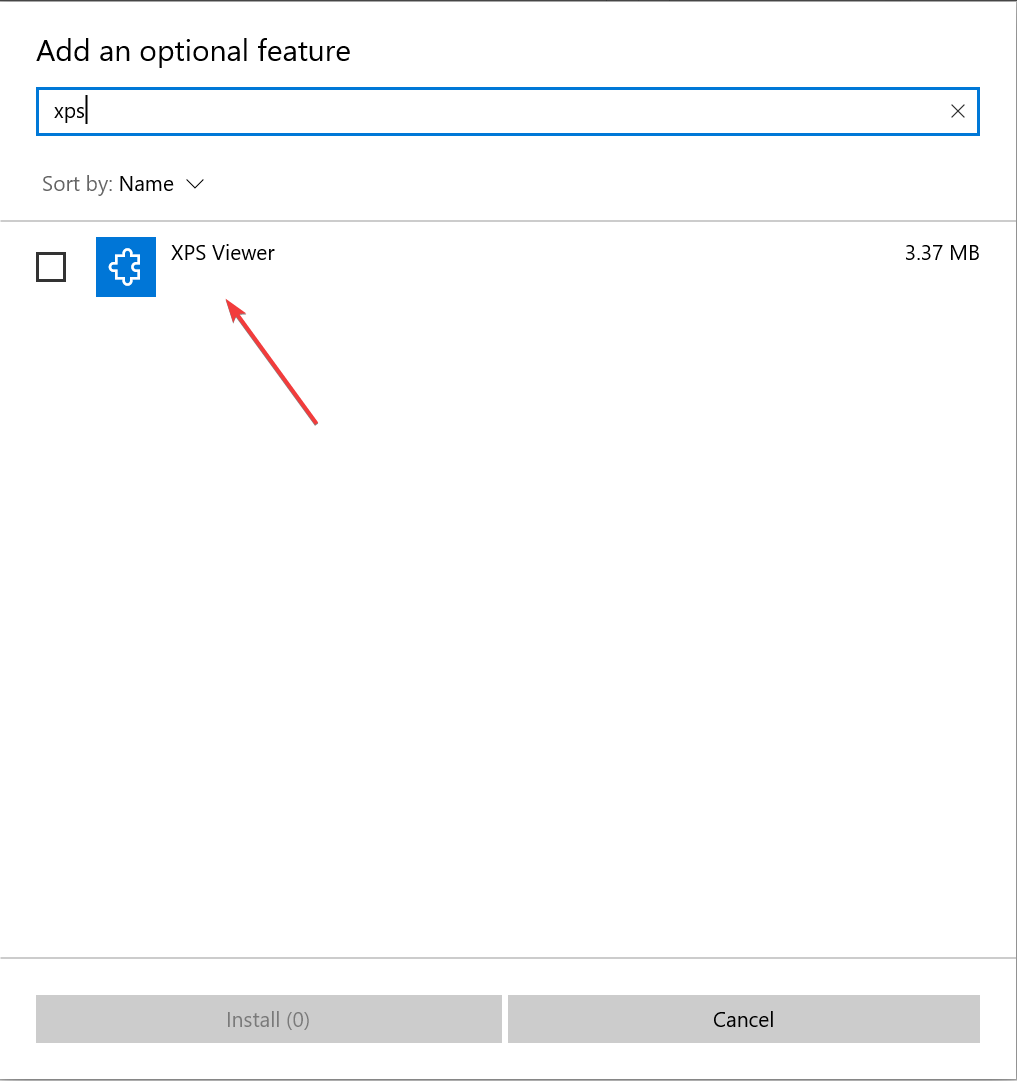
6. Click on install button.
7. Once the installation is complete, open your XPS file. It will automatically open with XPS Viewer.
Microsoft has changed the way you get XPS Viewer. In Windows 10, version 1709 and earlier versions, the app was included in the installation image and this is no longer the case.
Therefore, you will need to install/reinstall XPS Viewer in the following cases:
- If you install Windows 10, version 1803, on a new device
- Install Windows 10 as a clean install
- If you had XPS Viewer on Windows 10, version 1709, but manually removed it before the update
The fastest way is from Apps and features In the Settings app or through On-demand features.
Here, these are the most common methods for viewing XPS files. What software do you use for work?
Share your experience with the rest of the Windows community using the comments section below.

Common questions
-
Acrobat supports a wide variety of file formats such as: .doc, .docx, .xls, .xlsx, .ppt, .pptx, .txt, .rtf, .bmp, .jpeg, .gif, .tiff, .png , .pcx, .rle, .dib, .odt, .odp, .ods, .odg, .odf, .sxw, .sxi, .sxc, .sxd, .stw, .dwg, .dwt, .dxf, . dwf, .dst, .xps and many others.
Thanks!
Start a conversation