- Computer users install and remove programs all the time. And the control panel should normally suffice for the latter.
- But what if not? Here are the most common methods for completely removing software scraps.
- You can use the manual method and carefully delete all traces from the registry.
- Or you can use one of our trusted software recommendations to do just that for you.

XInstall by clicking Download the file
It is a common practice for all computer users to install software regularly to keep up to date with new technologies or to meet their needs.
As you know, every time you install software, it creates files on your hard drive and usually adds registry entries to work efficiently.
What are software scraps and how can we get rid of them?
As long as you use software that was recently installed, and you do not forget it, that’s fine.
Now, the problem comes when you choose to uninstall it because the program may not completely remove itself from your computer. This is where software scraps come into play.
To remove a program in Windows, we usually remove it from the control panel. Unfortunately, this does not always eliminate it completely.
As a result, your system continues to accumulate unused files that take up space and make it difficult for you to perform overtime on your computer.
Values for the old programs can also remain in the registry, which reduces the performance of your computer.
These remnants may not pose a major threat, but they tend to slow down your PC so there is no point in keeping them. Fortunately, there are various methods that can help you get rid of them.
In this guide, we are going to discuss the most common methods for completely removing software scraps, so be sure to check them out below.
How do I completely remove programs in Windows 10?
1. Manually remove software remnants
This method is convenient because it does not involve the installation of third-party applications. Basically, you manually clear entries from the registry.
Despite this, care must be taken. A small error here may adversely affect the performance of your device.
To make a backup, right-click on the key you want to delete and select Export. It will save a REG file with the backup of this key.
Not sold on the backup idea? We got your back! See our comprehensive guide to find out how to recover your Windows 10 registry without a backup.
2. Use reliable third-party software
We recommend you a premium cleaner for your computer that works its magic on any unwanted software, Windows applications and plug-ins.
This amazing tool provides simple removal and automatic scanning of scraps to ensure thorough removal.
Below, you can read The most important features Of this software:
- Removes unwanted programs to free up disk space and increase overall computer performance
- Identify all the malicious programs including real-time adware, and it allows you to get rid of them easily
- Automatically remove all program remnants
- Removes stubborn file remnants that cannot be deleted by other uninstallers
- Updates all your software
- Monitors all system changes while installing a program

Removes IObit
Remove stubborn debris and wipe your Windows 10 device with the most powerful uninstall tool.
2.1 Uninstall the software using the control panel
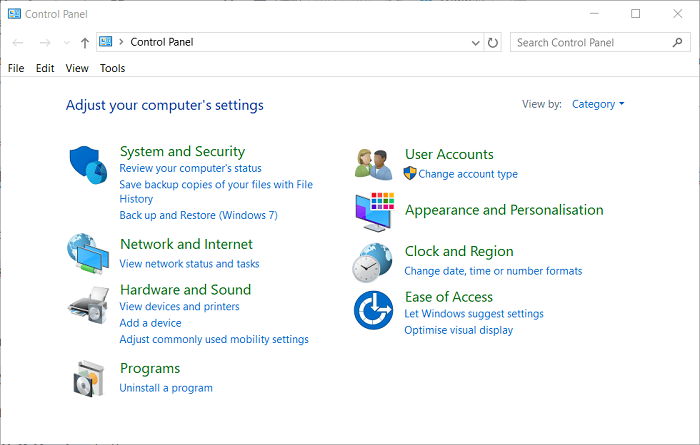
- open Control Panel.

- Double-click Programs.
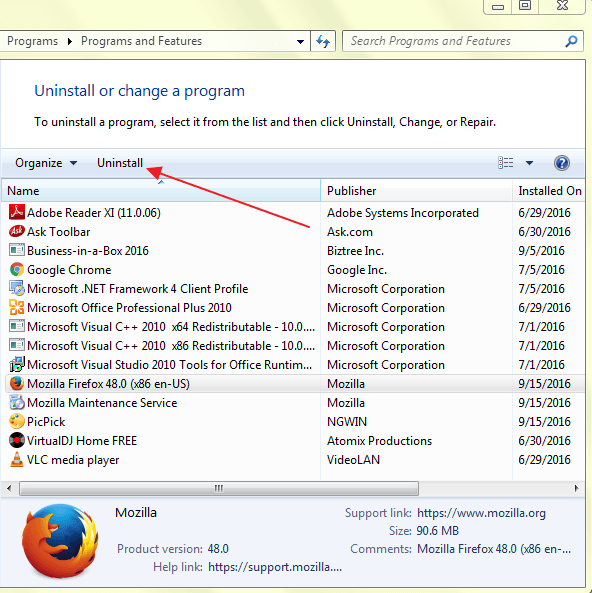
- Select the program you want to remove, and press Uninstall button. This will remove the program.
Also, if the control panel does not open in Windows 10, you should take a closer look at our guide step by step to find the best solution.
2.2 Delete the rest of the files and folders
Although you have successfully removed the program, some of the file segments may remain in some system folders.
To remove them, you will need to check the program files and app data. Check for residues in the following folders.

Just type the text above one at a time in the search box and press Enter. This will open the folders directly. If you find a folder with the name of the program you just removed, delete it.
Can’t delete all your junk files? See our detailed guide and see how to delete temporary files using Disk Cleanup in Windows 10.
2.3 Remove software keys from the Windows registry
- Open the Start menu, Type regedit In the search box and click on to enter. It will launch the Registry Editor.
- Type the following keys one by one:
HKEY_CURRENT_USERSoftwareHKEY_LOCAL_MACHINESOFTWAREHKEY_USERS.DEFAULTSoftware - Look for a key with the name of the program you just removed. If you find a key, delete it. You can also use CTRL + F Look for such keys.

You will need to be very careful when performing this procedure. When you uninstall software, in most cases, the removal program does not remove the program from the Windows registry.
This increases the size of the Windows registry. To completely uninstall the software, you must remove its key from the Windows registry.
Also, if you are unable to access Registry Editor, please refer to our detailed guide and resolve the issue quickly.
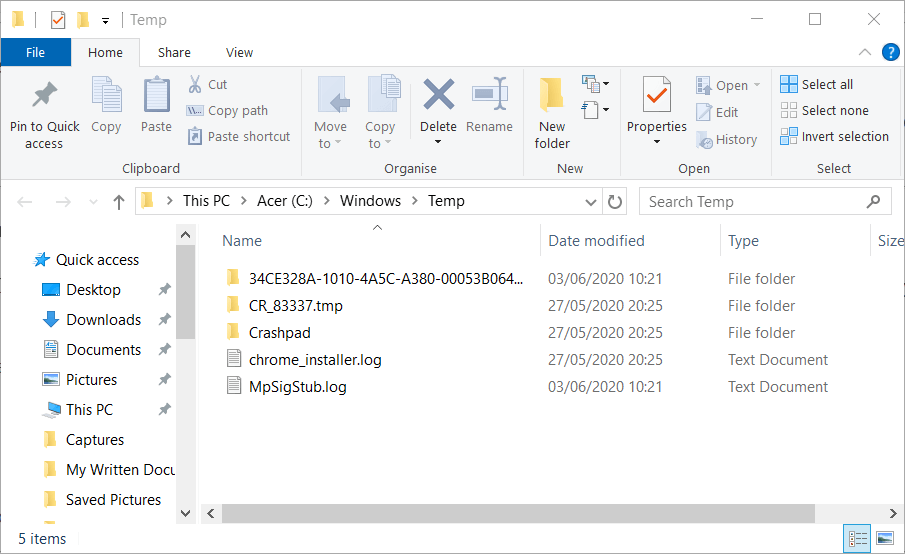
2.4 Empty Temp folder
The last step is to clear the Temp folder. This is the folder that contains all the temporary files and its cleaning is safe.
Expert Tip: Some computer problems are difficult to deal with, especially when it comes to corrupt repositories or missing Windows files. If you are having trouble fixing an error, your system may be partially broken. We recommend installing Restoro, a tool that will scan your device and identify what the problem is.
Click here to download and start repairing.
To empty the folder, open the Start menu and type the following commands one by one:
This will open the Temp folders. Now you can empty them. If the system displays an error message when deleting certain files, leave them on.
The files may be used by Windows services or some running software.

After following all the steps above, you can completely uninstall a program without leaving a trace on your computer.
Also, if you can not delete the temporary files, we have the best solutions. Take a close look at our comprehensive guide, and fix it in no time.
Use free software solution
We suggest you use an enhanced tool for Windows that you can use to remove all software remnants.
As a result, the program can delete all the junk files within seconds after uninstalling the software.
This software offers a more user-friendly way to remove software scraps and improve the efficiency of your computer.
More importantly, this tool supports batch uninstallation. This means you can even remove multiple applications with just one click.

It also allows you to make backups so you never lose important programs in case of mistakes.
GlarySoft also has a very useful registry repair tool for scanning computers, cleaning registry junk and fixing registry errors.
It performs a comprehensive and in-depth analysis for the Windows registry. It also corrects invalid entries or references that cause computer freezes, system crashes, instability, blue screen and computer slowdowns.
⇒ Get the registry repair tool
Another software recommendation handles stubborn programs well and can even remove programs that other programs cannot.
Because the tool is portable, you can download it via USB to help repair buggy computers on the go.
The tool performs a deep scan and removes all junk files and other software scraps. It also includes an efficient user interface and instant activation. It offers both clean removal and forced removal.
Which method should you choose to remove debris?
In this article, we have provided you with two effective methods to successfully remove the remnants left after uninstalling the unwanted software from your computer.
Of course, you can always use the control panel if you want to remove a program. But after that, some of the file segments may remain in some system folders.
That means you need to remove software keys from the Windows registry. As we all know, the actions we take in Registry Editor have immediate and irreversible effects.
Therefore, you need to be very careful when performing this procedure. But compared to manual methods, third-party programs are easier, faster and safer to use.
They also come with a friendly interface that allows you to see even the registry entries as well as the link to the manufacturer’s website.
Have you used any of the methods described above? Feel free to share with us your experience in the comments section below.
Also, leave there any questions you have, and we will surely check.

Common questions
Thanks!
There are 7 comments